Top Tips for Getting Ply Cut to Size for Your Projects
In the world of woodworking and DIY projects, achieving the perfect dimensions for your materials is crucial. Ply cut to size not only enhances the accuracy of your projects but also significantly reduces waste. According to industry expert John Thompson, “Precision in cutting plywood to size is the foundation of every successful build.” His insight reflects the importance of this process in ensuring that pieces fit together seamlessly, creating a professional finish that elevates any project.
Whether you're a seasoned craftsman or a weekend warrior, knowing how to get ply cut to size can save both time and resources. Each project presents its own unique challenges, and understanding the specifics of your cutting needs can lead to more efficient work and exceptional results. By paying attention to the details and consulting with professionals when necessary, you can transform your vision into reality.
In this guide, we will share top tips for getting ply cut to size, helping you navigate the options available and make informed decisions. From choosing the right tools to understanding techniques that yield precise cuts, we’ll ensure that your next project starts off on the right foot. With careful planning and execution, you’ll be on your way to creating stunning pieces that showcase your craftsmanship.

Understanding Ply Types and Their Uses in Projects
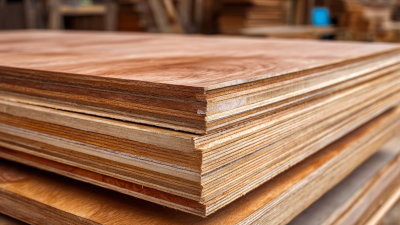
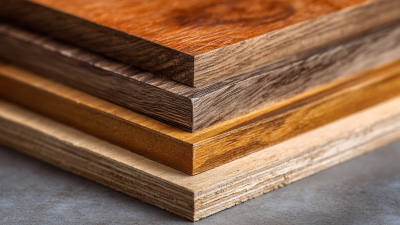
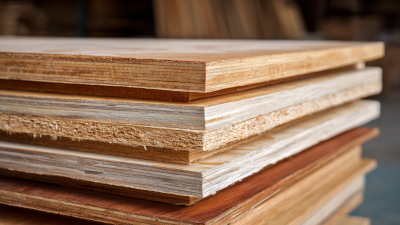
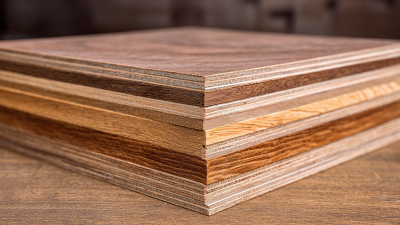
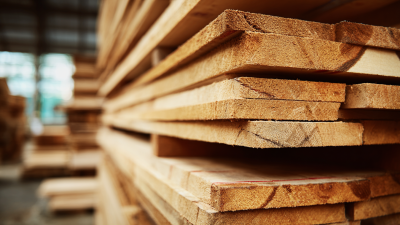
When embarking on a project that requires ply, understanding the different types of plywood available is crucial. There are several common types, each with distinct features and applications. For instance, softwood plywood, made from coniferous trees, is often used for construction due to its strength and lightweight nature. It’s ideal for structural work and furniture-making, providing a solid foundation for various projects. On the other hand, hardwood plywood, crafted from deciduous trees, is known for its durability and fine finish, making it suitable for cabinetry and decorative applications. Knowing the differences in quality and grain pattern can help you choose the right ply type for your specific needs.
Another important aspect to consider is the grading of plywood, which affects the appearance and structural integrity. Higher-grade ply, such as A-grade, has fewer knots and defects, making it perfect for visible areas and refined projects. Meanwhile, lower grades, like C-grade, may be more suitable for hidden applications where aesthetics are less important. Additionally, understanding the ply's core type—whether it’s veneer, solid lumber, or engineered—can impact the strength and weight of your final product. Familiarizing yourself with these characteristics will enable you to select the most appropriate plywood for your project, ensuring both functionality and durability.
Top Tips for Getting Ply Cut to Size for Your Projects - Understanding Ply Types and Their Uses in Projects
| Ply Type |
Thickness (mm) |
Common Uses |
Cutting Method |
| Plywood |
9 |
Furniture, Cabinets |
Table Saw |
| MDF |
18 |
Cabinetry, Paneling |
CNC Router |
| OSB |
11 |
Structural Applications |
Circular Saw |
| Bamboo Ply |
15 |
Eco-Friendly Projects |
Jigsaw |
| Laminated Veneer Lumber |
30 |
Beams, Framework |
Band Saw |
Measuring Accurately for Ply Cutting: Tips and Tools
Measuring accurately for ply cutting is a crucial step in ensuring the success of your projects, whether they involve cabinetry, furniture making, or home renovations. According to the Woodworking Industry report, nearly 35% of professional woodworkers cite inaccurate measurements as a primary cause of project delays. Therefore, utilizing the right tools and techniques is essential. A good quality measuring tape, ideally one with both metric and imperial markings, is fundamental, but incorporating a digital measuring tool can greatly enhance precision.
When measuring for ply cutting, always allow for the kerf—the width of the saw blade—to avoid underestimating the amount of material needed. The general industry standard for saw blade kerfs is around 1/8 inch, but this can vary based on the type of saw used. Additionally, employing a square or a framing square ensures that your angles are accurate, which is vital for achieving clean cuts and perfect fits. Marking your dimensions clearly with a fine pencil can also aid in preventing miscalculations during cutting. According to the National Hardwood Lumber Association, a small mistake in measurement can lead to a waste of up to 15% of materials, which is both costly and time-consuming. Thus, taking the time to measure meticulously will pay dividends for any project.
Choosing the Right Cutting Techniques for Ply
When it comes to cutting plywood for your projects, selecting the right techniques is crucial for achieving clean and precise results. Whether you're working on furniture, cabinetry, or crafts, knowing how to approach the cutting process can greatly enhance the quality of your work. A few popular methods include using a circular saw for larger cuts, a jigsaw for curved and intricate shapes, and a table saw for straight cuts with high accuracy. Each technique has its own advantages, so consider the specifics of your project before deciding.
Another important aspect is the preparation of the plywood before cutting. It’s essential to measure and mark your cuts accurately to prevent wastage and ensure that pieces fit together as intended. Using painter's tape along the cutting line can help reduce splintering and achieve a smoother edge. Additionally, always use the appropriate blade for the material—specific blades designed for plywood will deliver better results by minimizing tear-out and producing cleaner edges. By mastering these cutting techniques and tips, you can elevate the craftsmanship of your projects significantly.
Safety Practices When Cutting Ply for Your Projects
When cutting plywood for your projects, safety should always be your top priority. Before beginning any cutting task, ensure you're wearing the proper personal protective equipment (PPE). This includes safety goggles to protect your eyes from flying debris, ear protection if you're using loud power tools, and gloves to shield your hands while handling sharp edges. Additionally, consider wearing a dust mask if you're working with materials that may generate harmful dust particles.
It's also essential to prepare your workspace thoughtfully to minimize the risk of accidents. Make sure the area is well-ventilated and free of clutter. Use a stable, flat surface to support the plywood while cutting, and secure it firmly with clamps to prevent movement. Always check your tools for any defects and ensure that blades are sharp to achieve clean cuts and reduce the chance of kickback. Adhering to these safety practices not only protects you but also ensures a smoother and more efficient cutting process, leading to better results in your projects.
Finishing Edges: Techniques for a Professional Look
When working with plywood, achieving a polished look often comes down to the finishing edges. One effective technique is to use a flush trim router bit, which allows for a smooth and seamless edge that aligns perfectly with the surface of your project. Start by carefully positioning the router along the edge of the plywood, ensuring you maintain even pressure. This will give you a uniform cut and help eliminate any rough spots or splintering that can detract from the overall appearance.
Another popular method for finishing edges is applying edge banding. This can be especially useful when working with plywood that has exposed edges, providing a clean and professional look while also enhancing durability. Choose a color or veneer that matches your project’s design, and apply it carefully with a heat-activated adhesive or contact cement. Once the edge banding is in place, trim the excess with a utility knife or a specialized trimmer for an immaculate finish.
These techniques, when executed properly, can elevate the aesthetic of your plywood projects and ensure they look professionally finished.