Essential Plumber Tools for Every DIY Project Tips
Plumbing is an essential skill for any DIY enthusiast. The right Plumber Tools can make a significant difference in completing a project. According to John Smith, a seasoned plumbing expert, “Having the right tools not only saves time but also ensures quality work.” This sentiment reflects the importance of equipping yourself adequately before diving into plumbing tasks.
When tackling a plumbing project, choosing the correct tools is vital. Essential plumber tools include wrenches, pliers, and pipe cutters. Each serves a unique purpose and can simplify difficult tasks. Quality tools can often mean the difference between a successful repair and a frustrating failure. Many first-time DIYers overlook the significance of investing in reliable plumber tools, leading to subpar results.
Mistakes can happen, even with the right equipment. It's essential to learn from these experiences. Understanding the limitations of your tools can help avoid errors in future projects. Remember, having effective plumber tools can empower you as a DIYer, but knowledge and practice are key to mastery.
Essential Plumber Tools Every DIYer Should Have in Their Toolbox
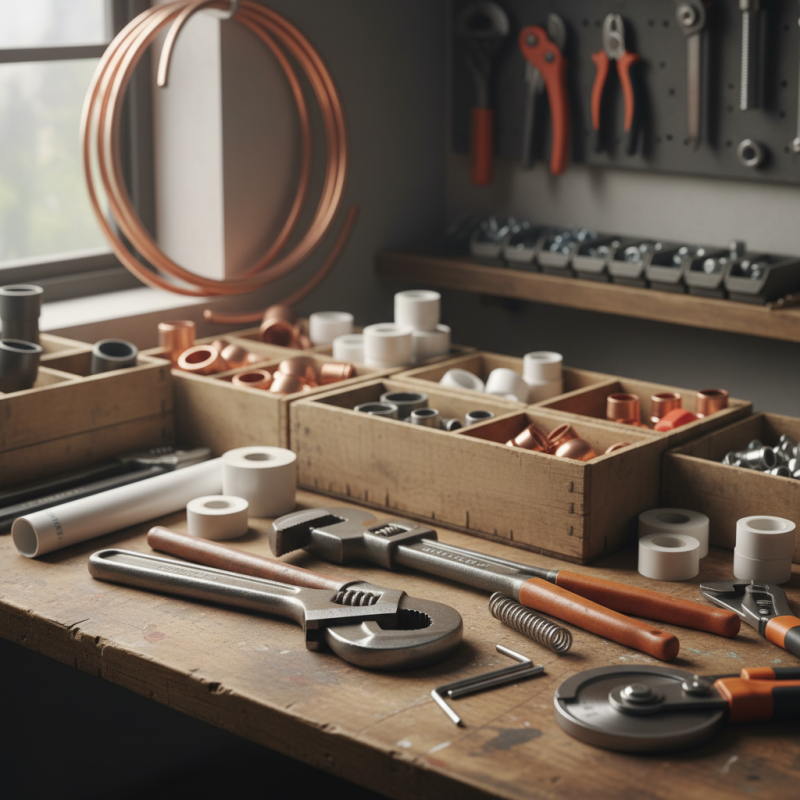
When tackling DIY plumbing projects, having the right tools is crucial. A few staples belong in every DIYer's toolbox. A pipe wrench is essential for gripping and turning pipes securely. Opt for one that feels comfortable in your hand. A good pair of pliers can also serve multiple functions. Choose ones that can easily grip various sizes of nuts and bolts.
A basin wrench is another handy tool, especially in tight spaces. Its unique design lets you reach fasteners that are hard to access. Don't forget a good quality tape measure. Accurate measurements prevent costly mistakes. Lastly, a plumber’s snake is useful for clearing stubborn clogs. This tool can save time and frustration during a plumbing emergency.
While assembling your toolbox, consider the quality of each tool. You may find that some cheap options wear out quickly, leading to more expenses later on. It's worth investing in reliable tools. Reflect on your needs and the types of projects you intend to undertake. Your toolbox should grow to fit your skill development and project variety.
Understanding the Functionality of Basic Plumbing Tools
When embarking on a DIY plumbing project, knowing how to use basic tools is crucial. Every plumber should have essential tools at their disposal, including a pipe wrench, plunger, and pipe cutter. Each of these tools serves a distinct purpose in various plumbing tasks.
A pipe wrench is designed for gripping and turning pipes. Its adjustable design allows for a tight hold on rounded surfaces. However, be cautious; too much force can damage the pipe threads. A plunger aids in unclogging drains. It's straightforward but highly effective. Always choose the right type of plunger for your needs. Using the wrong one might lead to messy solutions. A pipe cutter provides clean cuts on pipes, ensuring they fit correctly when connecting to other fixtures.
Tips: Start with a clean workspace. This minimizes mistakes and helps you locate tools quickly. Always wear safety goggles when working with sharp tools or heavy equipment. If unsure about a task, it might be wise to consult a professional. Learning comes with experience. Embrace the process. Each attempt can teach you valuable lessons.
Step-by-Step Guide to Using Common Plumbing Tools
When tackling a DIY plumbing project, having the right tools is essential. A basic toolkit includes a pipe wrench, pliers, and a plumber's snake. According to the Home Improvement Research Institute, nearly 70% of homeowners attempt minor plumbing repairs without professional help. This highlights the need for proper tool usage.
Using a pipe wrench is straightforward. Secure the wrench around the pipe, tightening clockwise while gripping the handle firmly. It’s crucial to maintain balance and avoid over-tightening, which can damage fittings. The Home Depot reports that improper handling of tools can result in injury, with over 10,000 cases annually in DIY settings.
A plumber's snake is invaluable for clearing clogged drains. Insert the end of the snake into the drain until resistance is felt. Rotate the handle to break up the blockage. Some users report frustration with this process, often underestimating the force needed. Mistakes in technique can lead to further clogging. Always wear gloves to protect your hands, as debris can be hazardous. Understanding these steps can lead to greater DIY confidence and safety.
Essential Plumber Tools for Every DIY Project
| Tool Name | Purpose | Usage Tips |
| Pipe Wrench | Grip and turn pipes | Adjust jaws for different pipe sizes |
| Plunger | Unclog drains | Ensure a tight seal over the drain |
| Adjustable Wrench | Tighten and loosen nuts and bolts | Always use the correct size for a better grip |
| Basin Wrench | Access tight spaces to tighten/loosen nuts | Use with care to avoid damaging surfaces |
| Pipe Cutter | Cut pipes cleanly and accurately | Adjust to the pipe diameter and rotate for a clean cut |
| Teflon Tape | Seal pipe threads to prevent leaks | Wrap tape clockwise around threads |
| Plumbing Snake | Clear blockages in pipes | Insert slowly and rotate to break clogs |
| Bucket | Collect water from leaks or clogs | Place under faucets or exposed pipes during repairs |
Tips for Maintaining and Storing Your Plumbing Tools Properly
When it comes to Plumbing Tools, proper maintenance is key. Regular cleaning of your tools can prevent rust. After each use, wipe down metal surfaces to remove moisture. Store tools in a dry area to avoid corrosion. A simple step can extend their life.
Organizing your tools is equally important. Use a toolbox that keeps everything in its place. Label compartments for easy access. This reduces frustration when searching for the right tool during a project. Plus, it ensures you can spot missing tools quickly.
Every tool should have its own space. Keep your wrenches separate from saws. This avoids damage and promotes safety. Reflect on your storage habits. Are there tools that consistently get misplaced? Identifying these patterns helps in optimizing your storage solutions.
Safety Precautions When Using Plumbing Tools in DIY Projects
When engaging in DIY plumbing projects, safety should be your top priority. According to the National Safety Council, over 30,000 injuries are reported each year related to home repair activities. Wearing appropriate personal protective equipment (PPE) is essential. This includes gloves to protect your hands from sharp edges, goggles to shield your eyes from debris, and knee pads to prevent injuries while working on floors.
Proper tool usage also plays a critical role in safety. It is vital to read the instructions carefully for each tool. Many accidents happen due to misuse. For instance, using a wrench that is too large can lead to stripping nuts and bolts. In addition, loose clothing can get caught in moving parts, creating hazards. Reports show that 15% of DIY injuries stem from tool-related accidents, emphasizing the need for caution.
Furthermore, ensuring a clean work environment is crucial. A cluttered workspace can lead to slips, trips, and falls. Always have a designated area for tools, and be aware of your surroundings. When using power tools, maintain a safe distance from others. Studies indicate that nearly 50% of DIY enthusiasts overlook these safety measures, leading to preventable injuries. Reflection on past mistakes can improve future practices and enhance overall safety.