Thin plywood can turn a tight curve, lighten a cabinet door, or line a drawer without adding unnecessary bulk. But “thin” does not mean interchangeable. Veneer species, glue bond, core construction, and panel thickness all affect how a sheet bends, holds fasteners, and responds to moisture. Choose poorly, and a neat workshop cut may become a wavy edge or a split screw hole.
The U.S. Forest Products Laboratory’s Wood Handbook explains how wood structure and moisture influence strength and dimensional change. That matters with thin plywood: a panel that looks flat in the store can move after it enters a damp kitchen or a dry, heated room. The APA – The Engineered Wood Association also publishes guidance on plywood grades and construction, helping buyers compare panels by intended use rather than appearance alone. Check the label. Then check the actual sheet.
A trustworthy introduction should not invent an expert quotation. I could not verify a named thin-plywood specialist’s exact words from the material provided, so I will not assign one. A useful principle, supported by established wood-product guidance, is to match the panel’s grade and construction to its exposure and load. It sounds obvious. It is easy to overlook when a smooth face catches your eye. This guide will help you assess thickness, core quality, flexibility, finish, and project conditions before choosing thin plywood.
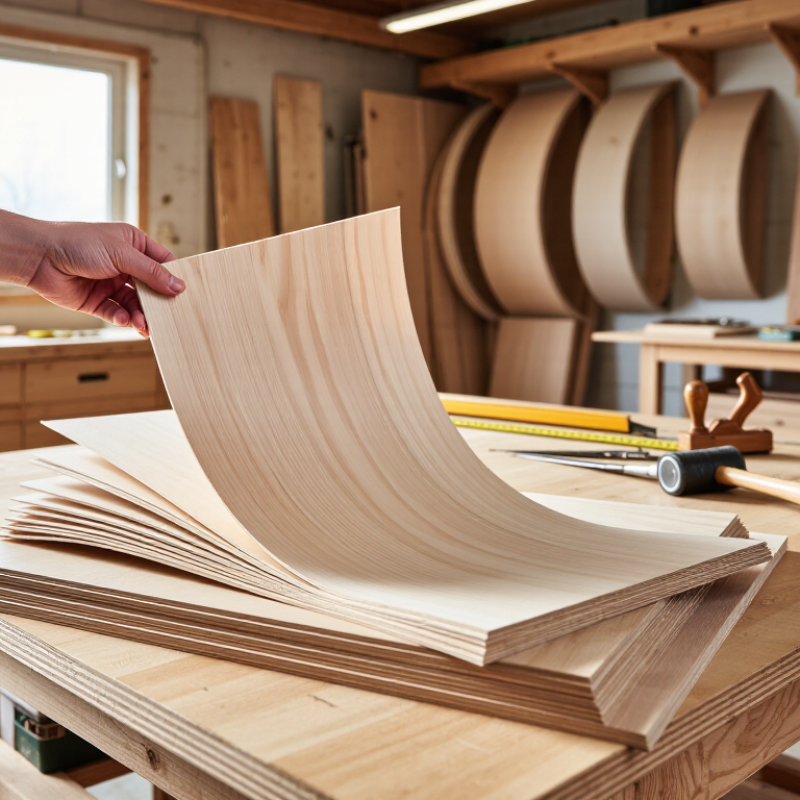
Before choosing thin plywood, define what the part must do: carry weight, bend around a curve, hide a rough substrate, or provide a finished surface. A drawer bottom may need little structural strength but must resist sagging across its span. A curved cabinet panel needs flexible plies and a grain direction suited to the bend. Measure the unsupported distance, expected load, fastening points, and exposure to moisture. Small details matter. A panel that feels stiff in the shop can flex once installed.
Moisture deserves attention, even indoors. The USDA Forest Products Laboratory’s Wood Handbook reports that wood’s equilibrium moisture content changes with surrounding relative humidity; at 70°F, it is about 6.2% at 30% relative humidity and 15.5% at 80%. That range can affect fit and flatness, so store panels near the project’s eventual conditions before cutting. For damp areas, verify the panel’s exposure rating and adhesive suitability rather than relying on appearance alone. Also inspect the actual sheet: thin panels can vary in flatness, core quality, and face veneer. I have learned not to assume a neat edge means a sound core. Check a cut sample, test fasteners in scrap, and confirm the required thickness against the finished dimensions.
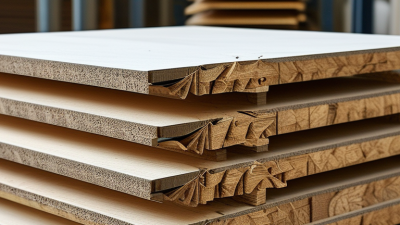
Thin plywood is commonly sold in thicknesses such as 1/8, 1/4, and 3/8 inch, but the label is only a starting point. Check the product specification and, when fit matters, measure a sample with calipers. Small differences can affect a snug drawer bottom or a flush cabinet panel. Thinner sheets bend readily around gentle curves, yet they may sag between supports. A 1/4-inch panel is often easier to handle for small craft parts and light interior panels. For wider spans, consider thicker stock or closer support spacing. Test the actual piece.
Grades describe appearance and construction, but grade names can vary between standards and sellers. A higher face grade usually means fewer visible patches and defects on the exposed surface; it does not automatically mean greater strength. Look at both faces, edges, and the core. Gaps between plies may weaken screw holding or show through paint. For a painted panel, a smoother face can save filling time, while a hidden backing may tolerate more patches. I would not choose by grade alone. Check the stated adhesive suitability for the intended environment, and make a small finish sample: thin veneers can sand through faster than expected.
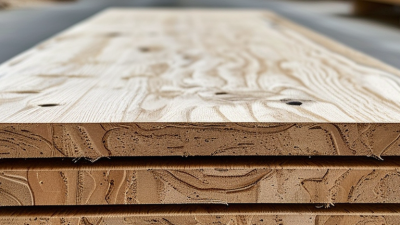
Thin plywood is not defined by thickness alone. Its core, face veneers, and layer construction determine how it handles bending, screws, moisture, and visible finishes. A lightweight panel with a soft core may suit a curved cabinet back, but it can dent under a clamp. For shelving or small furniture, inspect the edge: evenly stacked plies usually indicate steadier construction. Gaps or overlapping patches may weaken fastener grip. Look closely.
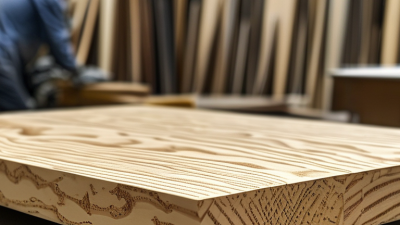
The face veneer matters when the panel will remain exposed. Choose a smooth, consistent surface for paint or clear finish, and check for patches, sanding marks, and color shifts under angled light. Decorative veneer can look refined, yet a very thin face is easy to sand through. Core materials vary, too: hardwood plies often hold screws better, while lower-density cores reduce weight. Neither is automatically right. Match the panel to the load and finish.
Tips: Bring a sample to the project site. Press a thumbnail into the edge, check for loose layers, and test a pilot hole with the screw you plan to use. For damp rooms, confirm the panel’s moisture rating; “water-resistant” does not mean waterproof. I have found that labels can be vague, so a small offcut test is useful. It may not predict every panel in the sheet, but it can reveal brittle veneers or a core that splinters easily.
Thickness is one factor in choosing plywood; also consider the core material, veneer quality, and construction for your project. The metric values below are conversions from nominal inch sizes. Actual sheet thickness can vary by product.
Thin plywood behaves differently when it faces damp air, repeated bending, or concentrated loads. Match the panel to its actual working conditions, not just its thickness. For indoor cabinets, stable room humidity and closely spaced supports matter. A thin sheet can sag between widely spaced rails, even when its surface looks sound. Check the panel’s grade, veneer quality, and stated intended use before cutting.
Moisture deserves attention. The USDA Forest Products Laboratory’s Wood Handbook explains that wood changes dimension as its moisture content changes. For floors or wall sheathing, APA’s Engineered Wood Construction Guide recommends leaving a 1/8-inch gap between panel edges to allow for expansion. That small gap is easy to forget. It can prevent buckling when panels absorb moisture. For exposed or humid locations, choose plywood rated for the exposure and protect cut edges; an interior panel is not made weatherproof by paint alone. If the project involves a curved surface, test a scrap over the intended form first. Thin plywood may bend across one direction more readily than the other, and its veneers can split near tight curves. I would not assume the sample piece predicts every sheet. Check the face for cracks, voids, and uneven thickness before installation.
| Project condition or use | Useful plywood properties | Typical thickness to consider | Selection guidance | Important limitations |
|---|---|---|---|---|
| Light indoor panels, drawer bottoms, or cabinet backs | Lightweight construction, smooth faces, stable core, easy cutting | 3–6 mm (about 1/8–1/4 in) | Choose a flat panel with a suitable face grade for the amount of surface visibility. Add support or framing when the panel spans an open area. | Thin panels can bow or sag over long spans and are not automatically suitable for load-bearing use. |
| Curved interior surfaces or model-making | Flexible panel, thin plies, consistent thickness, bend direction suited to the curve | 1.5–3 mm (about 1/16–1/8 in) | Check the panel’s bending direction and test a sample at the intended radius. Laminating several thin layers can help create a stronger curve. | Minimum bend radius varies by panel construction, grain direction, moisture, and method. Do not assume every thin plywood grade bends equally well. |
| Interior furniture parts with moderate handling | Good screw-holding capacity, uniform core, smooth sanded faces | 6–9 mm (about 1/4–3/8 in) | Use thicker panels or add cleats and edge support where hinges, fasteners, or repeated handling create stress. | Thin edges provide limited material for fasteners; pre-drilling and suitable edge reinforcement may be needed. |
| Areas exposed to occasional humidity, such as a bathroom cabinet interior | Moisture-resistant bonding and sealed faces and edges | 6–12 mm (about 1/4–1/2 in), depending on support | Look for a panel specified for the intended interior moisture conditions. Seal cut edges and prevent standing water or prolonged dampness. | Moisture-resistant bonding does not make plywood waterproof. Confirm the product’s grade and intended exposure with its technical data. |
| Covered exterior projects with intermittent weather exposure | Exterior-rated bond, suitable veneer quality, protected edges | 9–12 mm (about 3/8–1/2 in), subject to framing and load | Select a panel explicitly rated for the expected exposure, then apply an appropriate exterior coating and protect all edges. | “Exterior” bonding describes glue performance, not a guarantee against decay, delamination from poor maintenance, or long-term unprotected exposure. |
| Temporary patterns, templates, or lightweight craft projects | Easy-to-cut panel, adequate flatness, surface quality suited to marking or finishing | 3–6 mm (about 1/8–1/4 in) | Choose thickness based on how often the template will be reused and whether it needs to resist handling or clamping. | Inspect for voids and weak edges if the template must hold a precise shape. |
| Flooring underlayment or other structural applications | Panel specifically rated and marked for the application, appropriate span capacity and fastening requirements | Follow the design, local code, and panel rating; thin panels may require continuous support | Use only a product approved for the intended structural role and install it according to the panel manufacturer’s instructions and applicable building requirements. | Thin plywood should not be treated as structural merely because it is plywood. Check panel grade, span rating, support spacing, and local requirements. |
Selection tip: Match thickness, bonding, face grade, and panel rating to the actual loads and exposure. Product specifications vary, so verify the grade and installation guidance before purchase.
Thin plywood is not defined by thickness alone. Check the panel label for nominal thickness, grade, veneer construction, and intended use. A 1/4-inch sheet may vary slightly in actual thickness, which matters when it must fit a routed groove or sit flush with trim. Measure the sheet with calipers, not just the store label. Also check whether the panel is rated for interior or exterior exposure; “water-resistant” does not mean waterproof. The APA Engineered Wood Construction Guide explains how panel grade and span rating indicate intended structural use. For shelves or cabinets, confirm the panel’s support spacing before cutting.
Plan the cuts around the project, not just the sheet size. Mark the clean face, draw each cut line, and allow for the saw kerf; a narrow strip can disappear faster than expected. Use a fine-tooth blade and support both sides of the cut to reduce splintering. Small detail, big difference. Before installation, let panels adjust to the room. The USDA Forest Products Laboratory’s Wood Handbook reports equilibrium moisture content of about 7.7% at 70°F and 40% relative humidity, showing why indoor conditions affect wood moisture. Store sheets flat, with spacers for airflow, and keep them away from damp concrete. Leave a small expansion gap where panels meet walls. I sometimes skip that gap on a quick repair, then regret it when the room gets humid.

Signup our newsletter to get update information, promotion or insight.